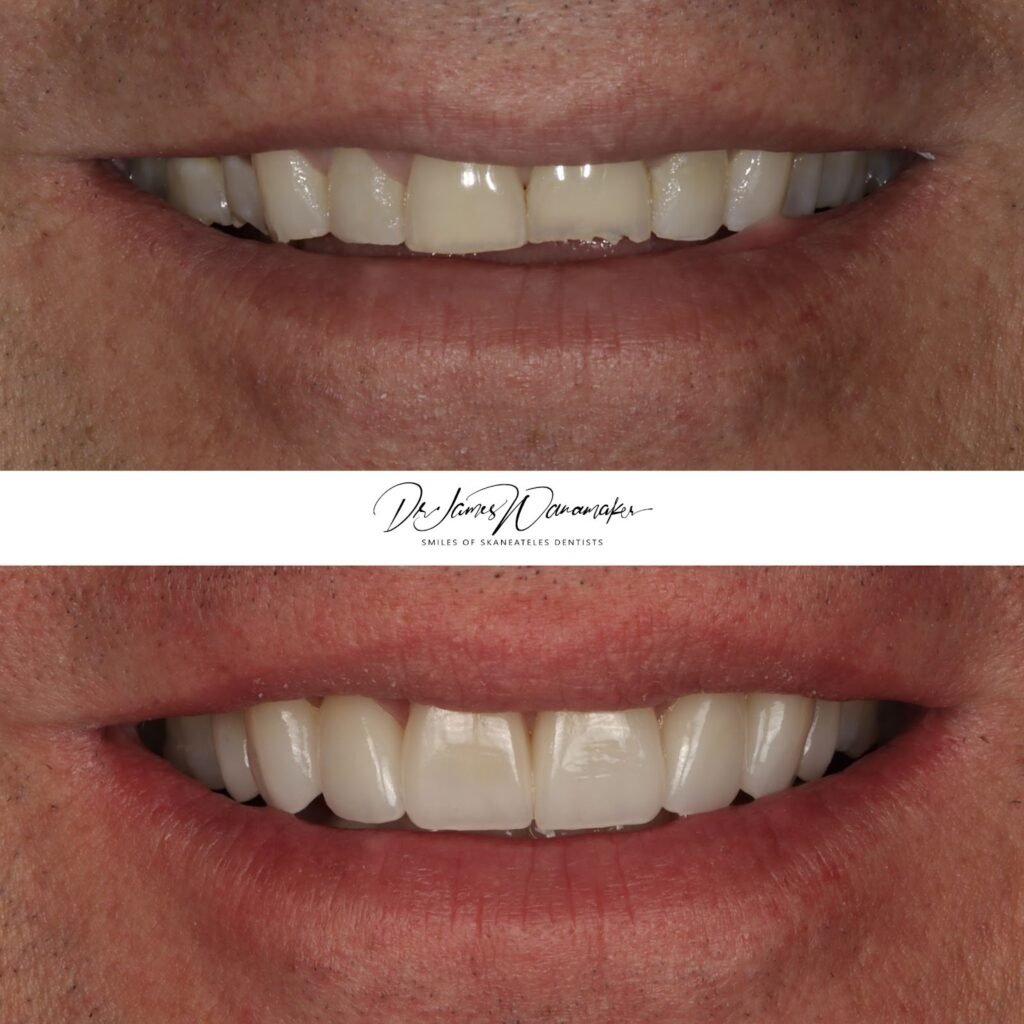
With every case I plan, I take the same set of twenty-one photos because each image gives me a different piece of the puzzle, and together they guide one of the most critical parameters in smile design.
In an esthetic-driven practice, few decisions are more important or more misunderstood than where we place the maxillary incisal edge.
- It is not arbitrary.
- It is not based on a single photo.
- And it is certainly not based on what looks good in isolation.
Incisal edge position is a facially driven decision, and dental photography enables us to make that decision with clarity, consistency, and confidence.
This is the system I use daily in my practice to determine the incisal edge position of central incisors in my esthetic cases.
Incisal Edge Position Starts With a System
To properly evaluate and plan incisal edge position, I consistently capture a:
- Tipped-down smile photo
- Side profile photo
- E position high smile photo
- Smile at rest
- Straight-on natural smile
- Retracted, closed
- Open shot
Each of these images answers a specific question. When combined, they remove guesswork and replace it with objective evaluation.
The other fourteen photos I take for planning my cases, we will discuss in a future article, which I use to determine aspects like the lower incisal plane and buccal corridor.
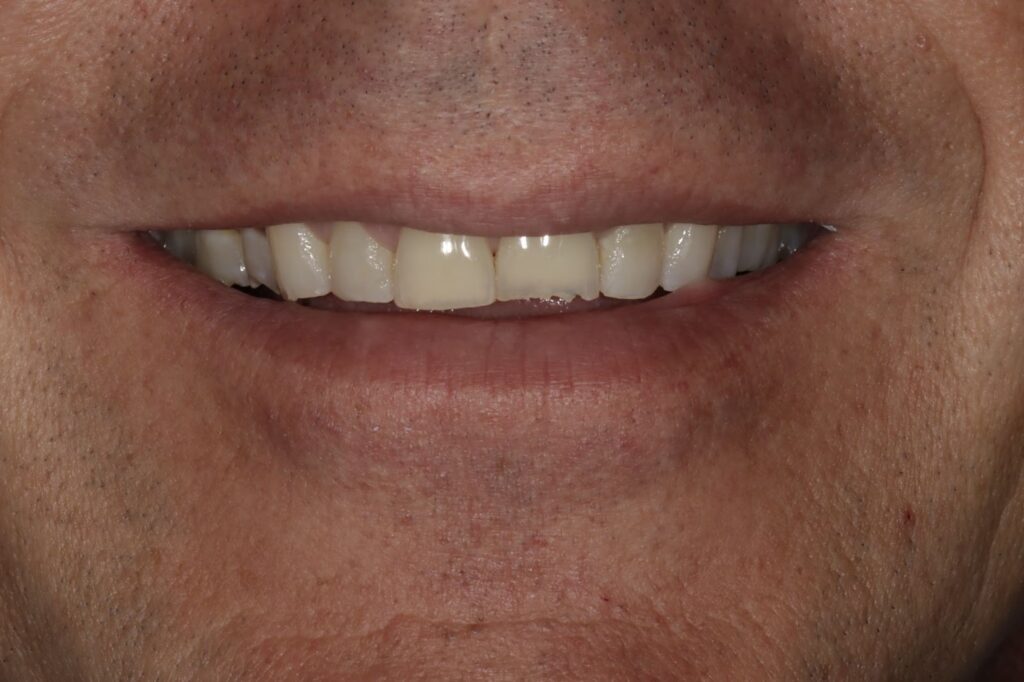
Rest Position Establishing Baseline Tooth Display
The first question I ask is simple. At rest, how much tooth are we showing?
There is a well-established guideline. One to three millimeters of maxillary incisal display at rest is considered esthetically pleasing. The classic Vig and Brundo data provides additional context. Around age 30, patients show approximately 3 mm of maxillary and 0.5 mm of mandibular display. By age 70, this shifts to approximately 0 mm of maxillary and 3 mm of mandibular display.
This reinforces an important concept. Maxillary display decreases with age. So when I evaluate a patient, if they show too little tooth at rest, lengthening becomes part of the conversation. If they already show adequate or excessive tooth display, I become more conservative.
This is the baseline. Everything else builds from here.
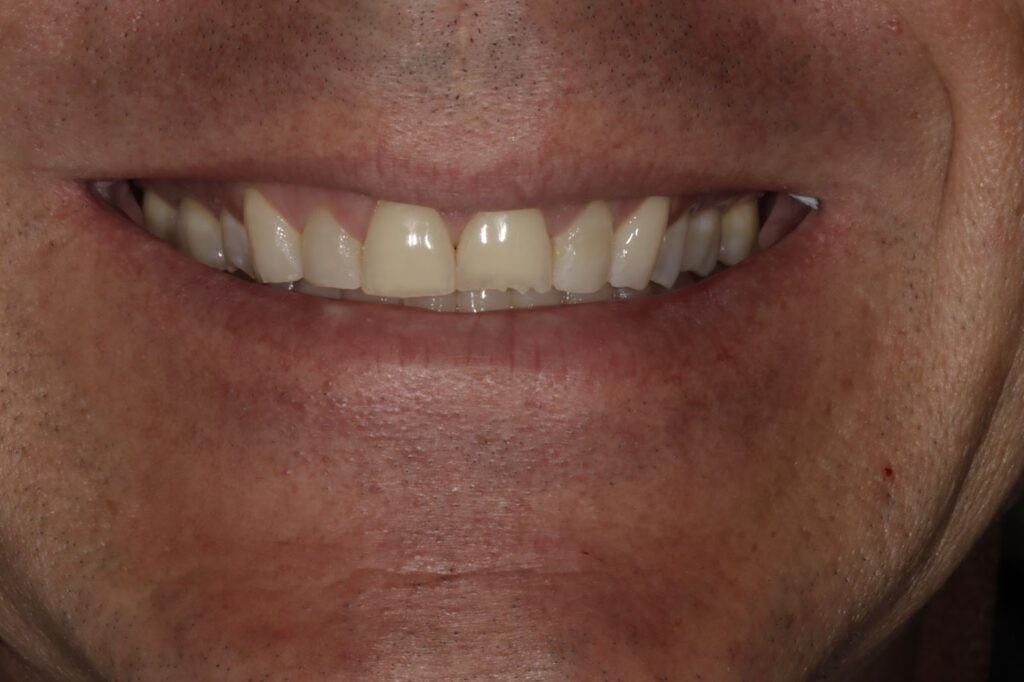
Full Smile Position Within the Vertical Envelope
Next, I evaluate the straight-on natural smile and ask where the incisal edges sit between the upper and lower lip.
A useful guideline is that the incisal edge should fall between 50 to 70 percent of the distance between the lips. This becomes a useful way to individualize treatment. Younger patients are typically positioned closer to 70 percent for a fuller, more youthful appearance, while older patients are positioned closer to 50 percent for a more age-appropriate result.
This is where we begin to tailor the smile to the patient, not just idealize it.
High Smile E Position Evaluating Maximum Expression
The high smile shows us how the teeth present at full expression.
In this position, I am evaluating maximum incisal display, gingival display, and the overall smile arc.
This ensures that the incisal edge position we choose does not appear short during a full smile and does not create an imbalance with gingival exposure.
It is a critical checkpoint to avoid under- or over-lengthening.
Profile and Tipped Down Views: The Lip Relationship
This is where incisal edge position becomes truly facially driven.
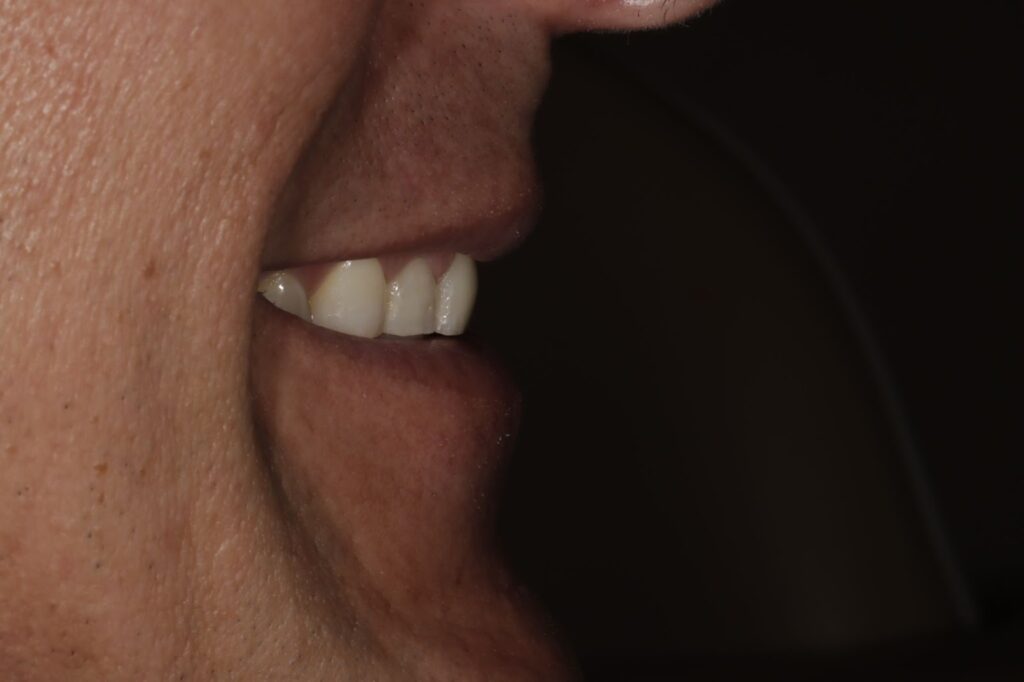
In both the profile and tipped-down views, I ask whether the maxillary incisal edge follows the inner vermillion border of the lower lip. A harmonious curve creates softness and youthfulness, while a flat or reverse curve creates tension and aging.

These views are essential because this relationship cannot be fully appreciated from a straight-on image. If the incisal edge does not follow the lower lip, I adjust.
This is one of the most consistent predictors of an esthetic outcome.
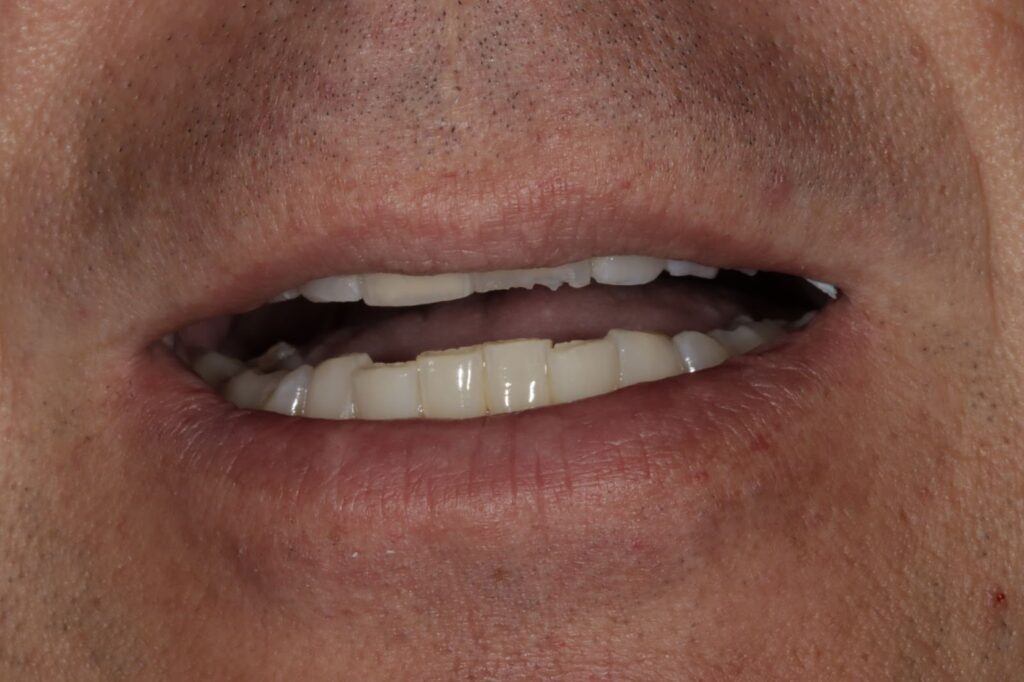
Retracted Closed Smile Controlling the Variables
Finally, the retracted closed smile allows me to evaluate the teeth without soft tissue influence.
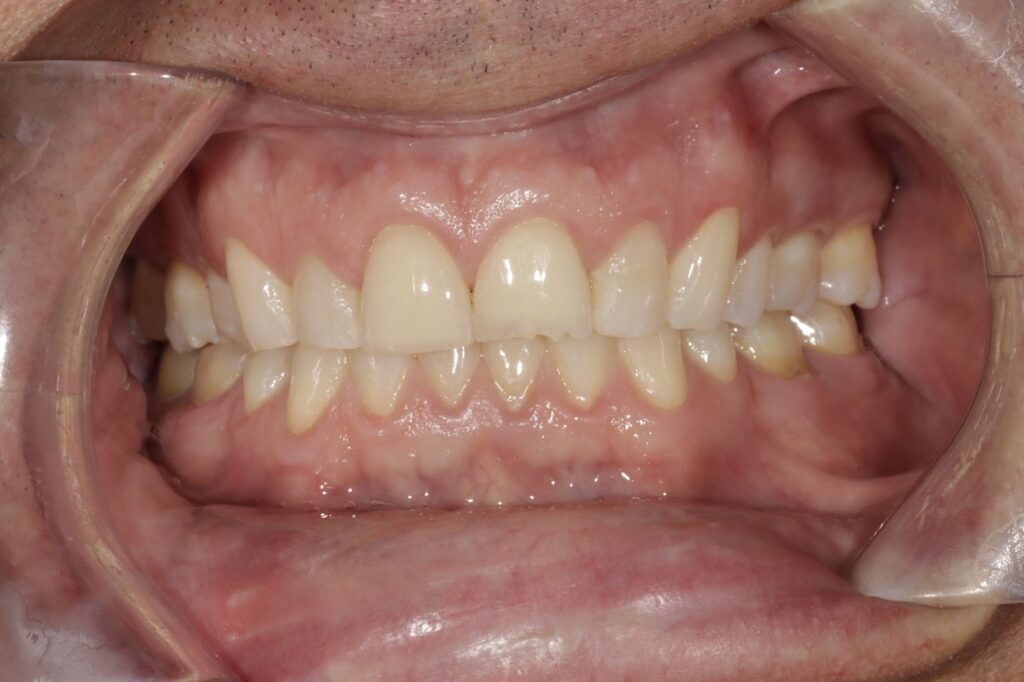
In this image, I am confirming:
- The symmetry of the incisal edges
- The relative tooth length
- And the consistency of the incisal plane
It ensures that what we are designing is structurally sound, not just visually acceptable in the context of the lips.
The Core Question
Across all of these images, I am consistently asking one fundamental question.
Does the position of the maxillary incisal edge have an appropriate esthetic length and relate harmoniously to the inner vermillion border of the lower lip?
Everything else supports that answer.
Photography Turns Guesswork Into Precision
Without photography, incisal edge position is subjective. With photography, it becomes measurable, repeatable, and teachable. It allows us to design with intention, communicate more effectively, and refine our outcomes over time.
Translating Digital into Analog
As important as photography is to planning incisal edge position, it is ultimately a 2D snapshot of a 3D dynamic reality.
I use photography as a starting point to work from, but we still have to consider occlusal factors and the envelope of function that determine whether the patient will tolerate the change in incisal position.
For those considerations, I refine the position with an analogue or digital wax-up and then confirm it clinically during the provisional phase.
Excellence Requires Intentional Planning
If we are serious about esthetic dentistry, we cannot leave incisal edge position to intuition alone.
It must be thoughtful, systematic, and photographically driven.
Because in the end, the difference between good dentistry and exceptional dentistry often comes down to fractions of a millimeter and how intentionally we place them.