By: Ronda Holman
Dear Dental Reader, my name is Ronda Holman and I have been sitting across from a dentist for a living for the last 25 years.
I thought it might be time to make some written confessions as to what I have been guilty of over the years and how my dentist was able to effectively mold me into their dream dental assistant.
There are always two sides to a coin. Today we will cover overlapping X-rays, the arch-nemesis of obtaining clear diagnostic data.
We all know that opening the contacts is crucial for effective treatment planning and patient care. So, why does overlapping happen, and what can we do about it?
Why Does Overlapping Occur?
Overlapping of dental X-rays, particularly in the interproximal areas, occurs when the X-ray beam is not perpendicular to the tooth surfaces and the image receptor.
Here are some common causes:
- Incorrect Horizontal Angulation: The most frequent cause of overlapping is improper horizontal angulation. If the X-ray beam is not aligned correctly with the teeth’s contact points, the resulting image will show the teeth overlapped.
- Patient Positioning: Incorrect patient positioning can lead to overlapping. If the patient is not seated or positioned correctly, it can affect the angle of the X-ray beam.
- Film or Sensor Placement: If the film or sensor is not placed correctly in the patient’s mouth, it can result in overlapping images. The film/sensor must be placed parallel to the teeth and the X-ray beam directed perpendicular to the film/sensor.
- Structural Anomalies: In some cases, anatomical variations such as tooth crowding or unusual tooth alignment can cause overlapping even with the correct technique.
How Can We Prevent and Correct Overlapping?
Preventing overlapping requires meticulous attention to technique and positioning. Here are some strategies to minimize the risk of overlapping X-rays:
1. Proper Horizontal Angulation
- Alignment: Ensure the X-ray beam is aligned parallel to the interproximal spaces of the teeth being imaged.
- Adjustment: Use the paralleling technique, where the X-ray beam is perpendicular to both the film/sensor and the teeth.
2. Correct Patient Positioning
- Head Position: Ensure the patient’s head is positioned correctly. The occlusal plane should be parallel to the floor, and the midsagittal plane should be perpendicular to the floor.
- Comfort: Make sure the patient is comfortable and stable to prevent movement during the X-ray.
3. Accurate Film/Sensor Placement
- Parallel Placement: Place the film/sensor parallel to the long axis of the tooth. Use holders or positioning devices to assist in proper placement.
- Centering: Center the film/sensor on the area of interest to ensure the entire tooth and surrounding structures are captured.
4. Quality Control
- Double-Check: Before taking the X-ray, double-check the positioning of the beam, film/sensor, and the patient.
- Training: Regular training and refreshers on proper radiographic techniques for all dental staff can help maintain high standards of imaging.
5. Use of Technology
- Digital X-rays: Modern digital X-ray systems offer better resolution and can often reduce the incidence of overlapping due to advanced imaging technology and software corrections.
- Cone Beam CT (CBCT): For complex cases, CBCT can provide a three-dimensional view, eliminating the problem of overlapping altogether.
My Personal Experience with Overlapping
Now that we have covered the technical aspects of why overlapping occurs and how to prevent it let’s go a bit deeper into this topic.
When I was a greenhorn DA I recall obtaining my dental X-ray certification from UNC. I had hours to get my full mouth series exposed, developed, and mounted (yes, I’m that old) I wasn’t multitasking and I got three retakes per film without it going against me.
Fast forward to the real world where we may be in a rush with multiple seated patients, the patient has the worst gag or tori making radiographs miserable for both the patient and the DA or the digital software decides to stop working in the middle of your FMX. Only to have the Dentist complain about not being able to use the data. Leading the dental assistant to have to go back in and retake the x-rays.
It’s so easy to get frustrated and overwhelmed when you have to do things twice. If you are fortunate enough to have other team members who are able to expose dental radiographs lean on them when you find a challenging situation and ask them for help (but not too often to avoid resentment).
Communication with Your Dentist
We must mention how stressful this is to the dentist, feeling like a broken record going out of their way to point out overlapping and taking the time to educate the dental assistant on the necessity of diagnostic data that is readable.
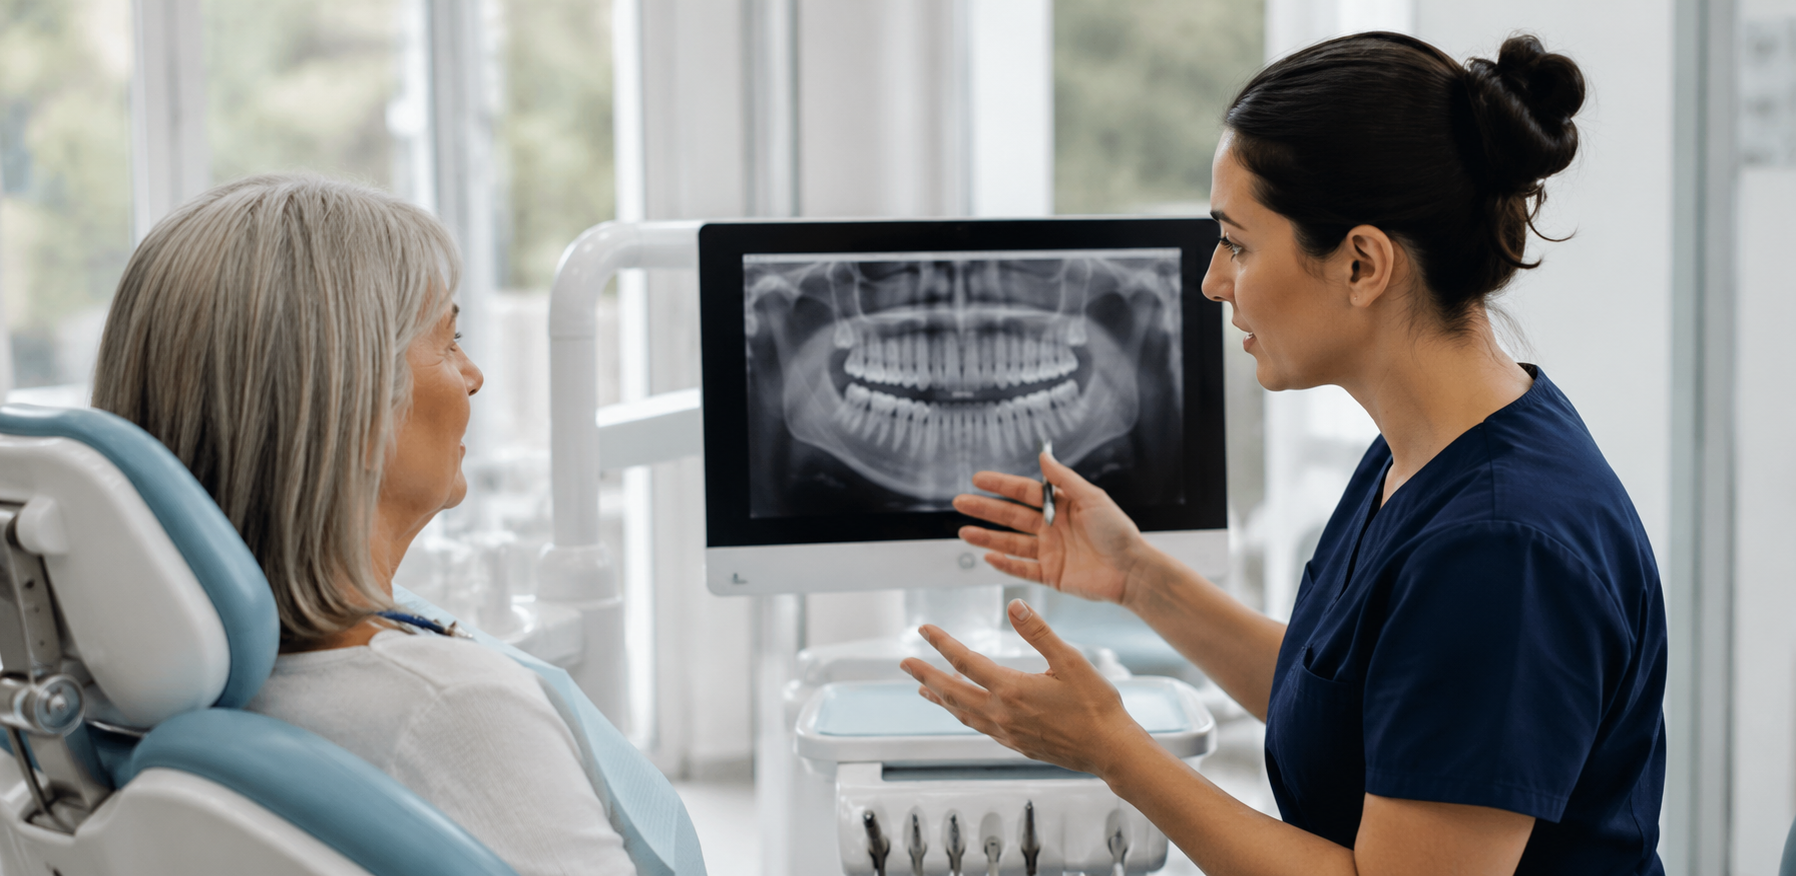
If you find yourself in this position as the dentist, I highly recommend reviewing the radiographs with your dental assistant instead of saying, please retake the max left premolar PA.
Have them look at the monitor with you and describe to you what they see in the image. Instruct them to point to any and all flaws they see. Once they realize if they can’t see between the teeth neither can you. This will increase the odds that the images are re-taken before they have a chance to get to your eyes.
Practice Makes Perfect
Don’t forget practice makes perfect and slowing down to pay attention to the details will always payoff in the end.
Keep those communication skills dusted off for constructive criticism. The last thing you want to do is bottle up the frustration until it becomes unbearable.
So if you’re the DA who is overwhelmed resulting in poor quality control tell your Dentist and if you are the Dentist ask the DA to show you what you can’t see.
Keep Reading: Help…My Dental Assistant is Messy!