A D4 Perspective for Your Future Clinical Wins
By: Michael Eid
Composite veneers are often marketed as conservative, quick fixes for minor esthetic issues, but what no one tells you early on is how technique-sensitive they are.
As a D4 who’s now done a handful, here are the biggest mistakes I made, and what I wish I had known before picking up the composite gun.
1. Underestimating the Mock-Up
My first big mistake? Skipping a full wax-up and going straight to freehand. Composite veneers aren’t just fillings on the front of teeth, they’re as technique sensitive as porcelain veneers. Without a mock-up, I had no roadmap for incisal length, midline, or symmetry. It cost me chair time, polish, and confidence.
🦷 Tip: Always do a digital or traditional wax-up and use a putty matrix to guide your initial composite layering. You’re sculpting, not guessing.
2. Improper Shade Selection
Veneers are in the esthetic zone, shade matters more than you think. I once chose an “B2” without checking it in natural light, only to realize post-cure it looked chalky and opaque. Costing me to re-do the veneer.
🦷 Tip: Check the shade before etching under natural light.
3. Poor Matrix Design
I learned the hard way: your matrix is your blueprint. Without proper contouring or incisal support, my final veneer looked over-contoured, had open gingival embrasures, and flat incisal edges.
🦷 Tip: Customize your matrix. A putty stent from a wax-up gives control over incisal edge, facial contour, and length.
4. Skipping a Proper Finish & Polish
Composite veneers shine (literally) in the polish—but I used to stop after a basic polish disc. The result: dull, lifeless surfaces that stained quickly.
🦷 Tip: Use a step-wise polish:
- Carbide finishing burr for contour (wrap those line angles)
- Sof-Lex or Enhance discs for refinement
- Final polish with a rubber point
Smoothness isn’t just for looks, it also resists staining and plaque.
5. Ignoring Isolation
You cannot bond to a wet field. My first veneer had microleakage from a tiny drop of saliva on the prep. Lesson learned. Even the tiniest drop of blood can stain your restoration making it look stained from day one.
🦷 Tip: Use cotton roll isolation with dry angles. This is not the time to rush bonding protocol.
Final Thought
Composite veneers are one of the most rewarding esthetic procedures to master as a student, but they’ll humble you fast. If you slow down, plan ahead, and treat each case like a smile makeover (not just another anterior filling), you’ll improve drastically with each one.
Mistakes are part of the process, just make sure you learn from them.
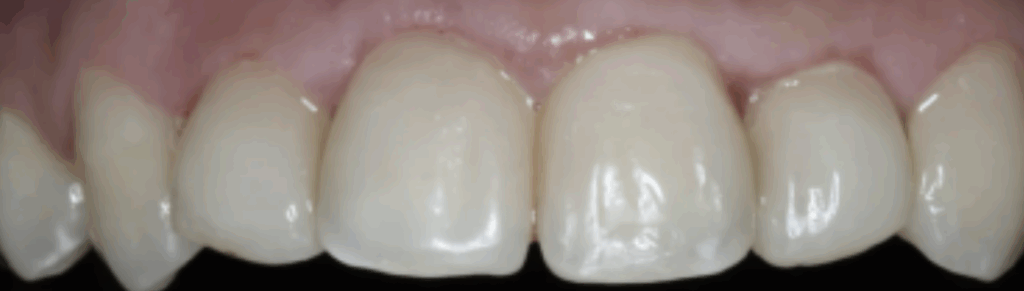
Photo by Pavel Danilyuk
