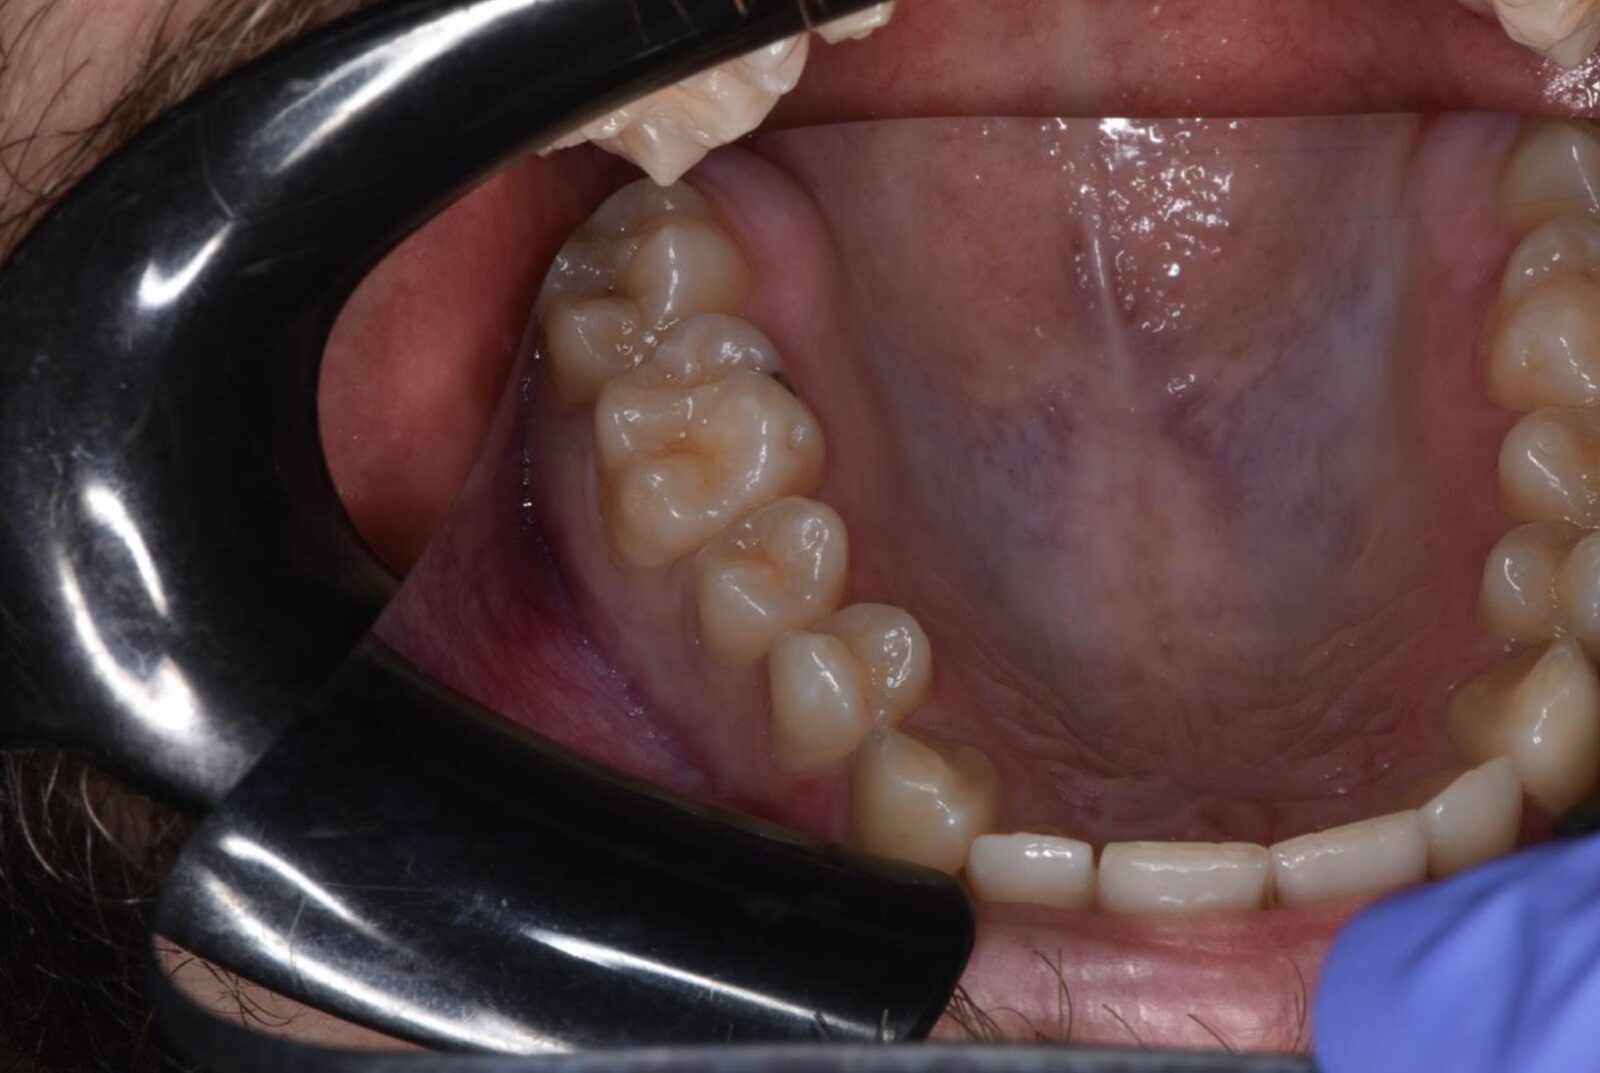
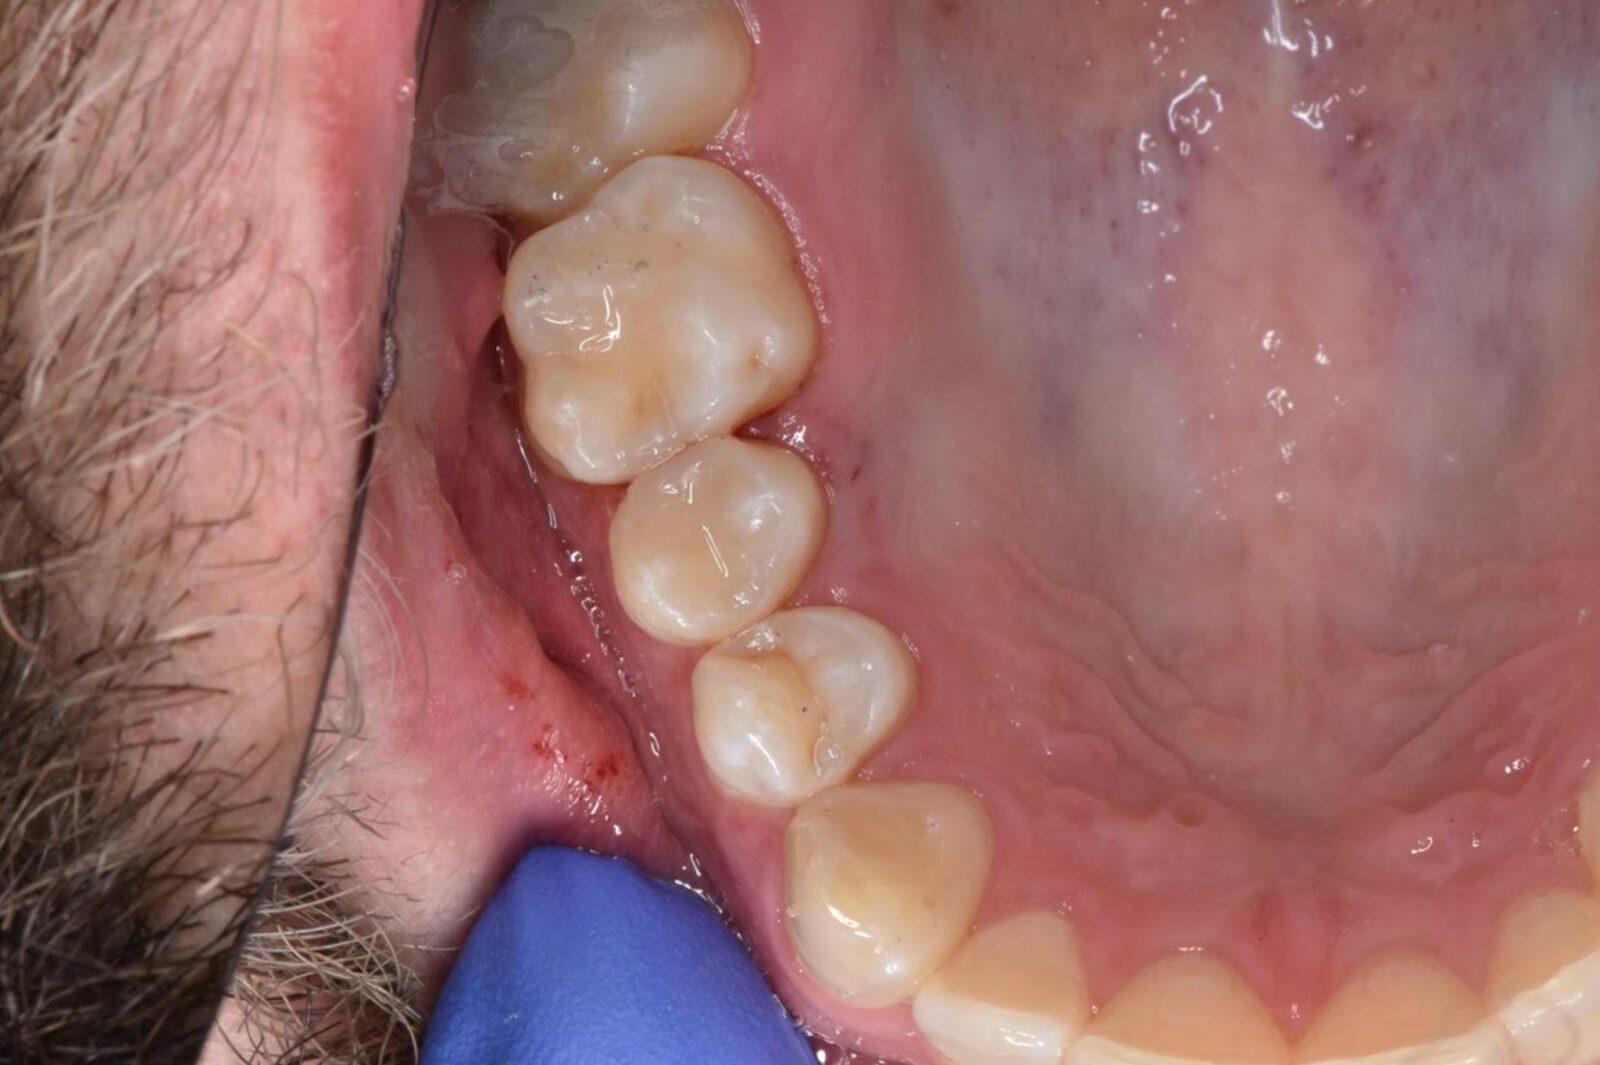
Today’s case: Radiographic caries on #4D, extending into the occlusal. A well-sealed, properly contoured Class II restoration was the goal.
Here’s how I approached it:
Step-by-Step Breakdown:
1. Anesthesia
½ carpule Citanest Plain + 1 carpule Septocaine for patient comfort and profound numbness.
2. Preparation
Conservatively removed decay while preserving tooth structure. I used a fine chamfer to eliminate sharp internal angles and enhance composite adaptation.
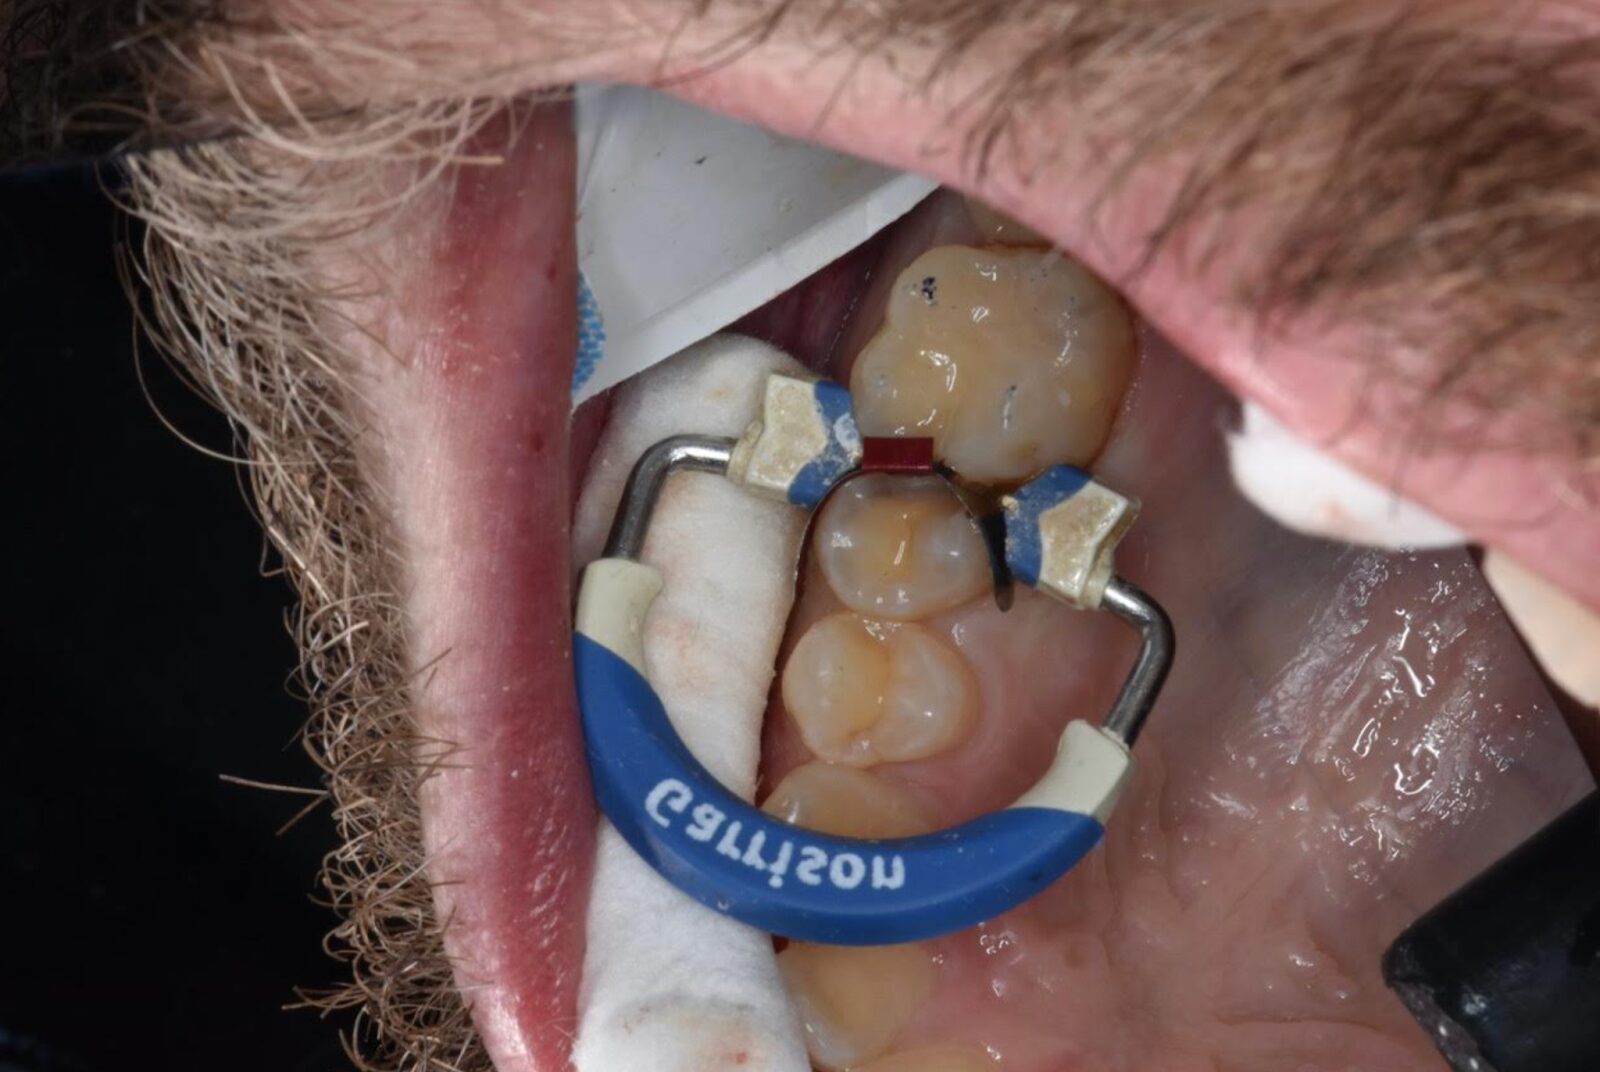
3. Matrix & Adhesion:
- Used the Garrison sectional matrix system, which provided a tight seal, excellent adaptation, and predictable contact formation. To ensure a proper seal at the base of the proximal box, I used a matrix band with an extension, preventing overhangs and ensuring a smooth emergence profile.
- 37% phosphoric acid for 15 seconds, then rinsed and dried.
- 3M Scotchbond, thinned and cured 15 seconds for a durable, reliable bond.
4. Composite Placement
Applied DMG Ecosite Elements Shade A2 in two layers, sculpting for optimal adaptation. Each layer was cured for 10 seconds to ensure depth of cure and strength.
5. Finishing & Polishing
Blended the margins seamlessly with a fine carbide flame bur, then polished to a high gloss using Jiffy polishing wheels.
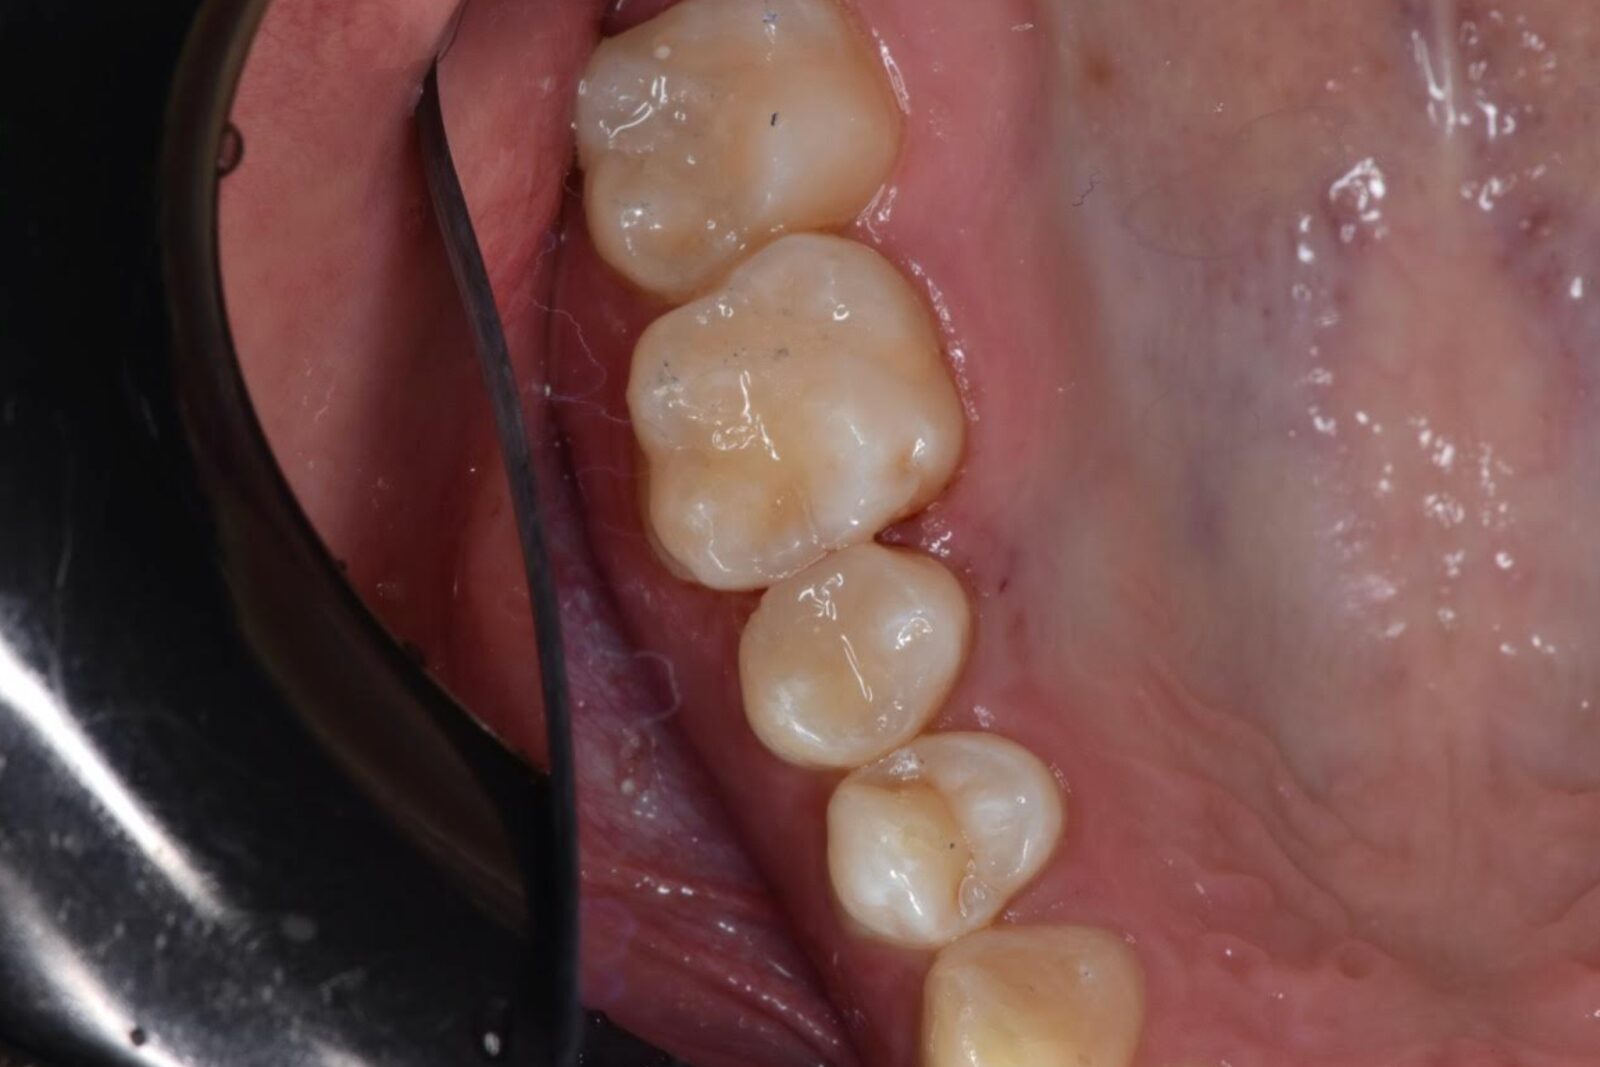
Final Outcome
A natural-looking, well-adapted Class II restoration with solid proximal contact and marginal integrity—thanks in part to the precision of the Garrison matrix system. The patient left happy, and so did I!
What’s your go-to sectional matrix system for Class II restorations?
Before-and-after photos below!