By: Michael Eid
Missed Parts 1 & 2? Check Them Out Here:
Step 1: Final Canal Check
- Working length confirmed
- Canal patent
- Size 10 passes easily to WL
High-Yield Tip: If a 10 doesn’t pass now, it won’t after obturation.
Step 2: Dry the Canal
- Don’t skip on irrigation – irrigation is a key principle of endodontics
- Paper points to WL
- Repeat until the last point is dry
- No moisture left apically
High-Yield Tip: Moisture = weak sealer seal and post-op sensitivity.
Step 3: Select the Master Cone
- Match final file size and taper
- Cone to WL
- Definite tug-back
High-Yield Tip: No tug-back = poor apical seal.
Step 4: Apply Sealer Conservatively
- Light coating only
- Canal walls or cone, not both
- Avoid excess
High-Yield Tip: More sealer ≠ better seal.
Step 5: Obturate With Control
- Seat cone slowly to WL
- Gentle compaction
- No forcing
High-Yield Tip: Force = extrusion or voids.
Step 6: Remove Excess Gutta-Percha
- Heat or plugger
- Remove coronal GP
- Vertical compaction
High-Yield Tip: Dense coronal seal prevents reinfection.
Step 7: Temporize Immediately
- Sponge above orifices
- Cavit over chamber → if possible, complete core build up with composite immediately after
- No cotton in canals
High-Yield Tip: Cotton in canals complicates retreatment.
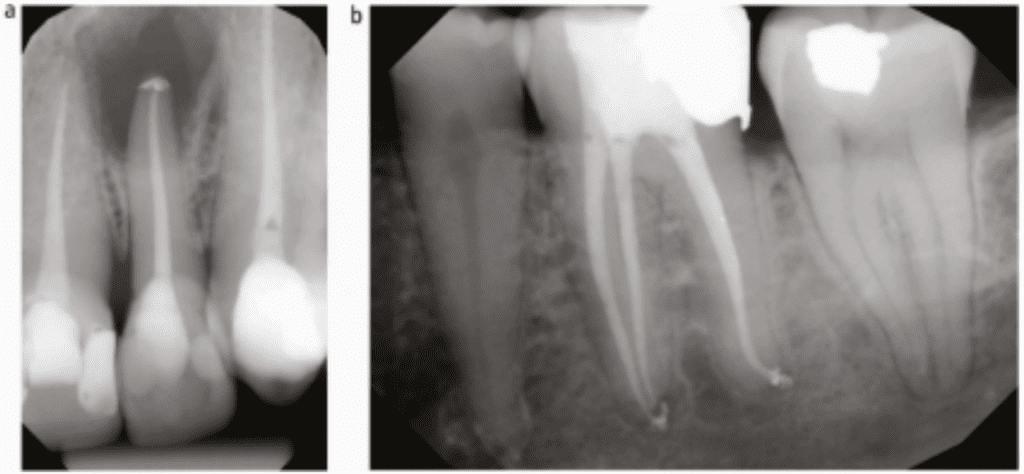
Step 8: Final Radiograph
- Fill to WL
- Dense obturation
- No voids
High-Yield Tip: Questionable fills don’t improve with time.
